How to Assemble the Sliding Mechanism
1. Materials
Materials Required
- 6x metal rods at least 17mm long with a diameter of 3mm
- 6x Bearing wheels
- 4x or 6x M4 screws
- 4x M3 screws
- 4x M3 nuts
- 2x Stepper motors 28BYJ-48
STL Models
2. Printing
First, you will need to print the different pieces.
The 2 motor wheels and 2 carts (the two carts are different !!!) should be printed using PETG. While it is possible to print them together, it is preferable to use different colors.
The 6 tires should be printed using TPU.
While the wheels and tires print relatively quickly, the carts will take more than 12 hours to print.
3. Drilling
All of these holes are designed to be 3mm wide. However, due to printing, the holes may be slightly smaller. It is advised to drill these holes to ensure the 3mm metal rods fit perfectly.
These holes could also be slightly enlarged to accommodate M4 inserts. But it is totally optional, and our build does not do it.
4. Assembly
Wheel Assembly
If printed correctly, the 6 bearing wheels and 2 motor wheels should fit perfectly inside the tires as shown below:
We recommend using glue to secure the wheels inside the tires.
You can also attach the motor wheel to the stepper motor:
Once assembled, the wheels can be mounted on the cart as shown:
The part of the rod that is sticking out can be cut down, as we did in our build.
No glue is needed for the rods to stick, as the rod barely fits inside the hole (You will have to apply significant pressure to insert the rods).
Motor Assembly
Using the M3 screws, M3 nuts, and Stepper motors, attach the stepper to the cart:
Finally, use the remaining 4-6 M4 screws to attach the carts to the lifting platform. You will notice that only one side fits properly, this is intentional.
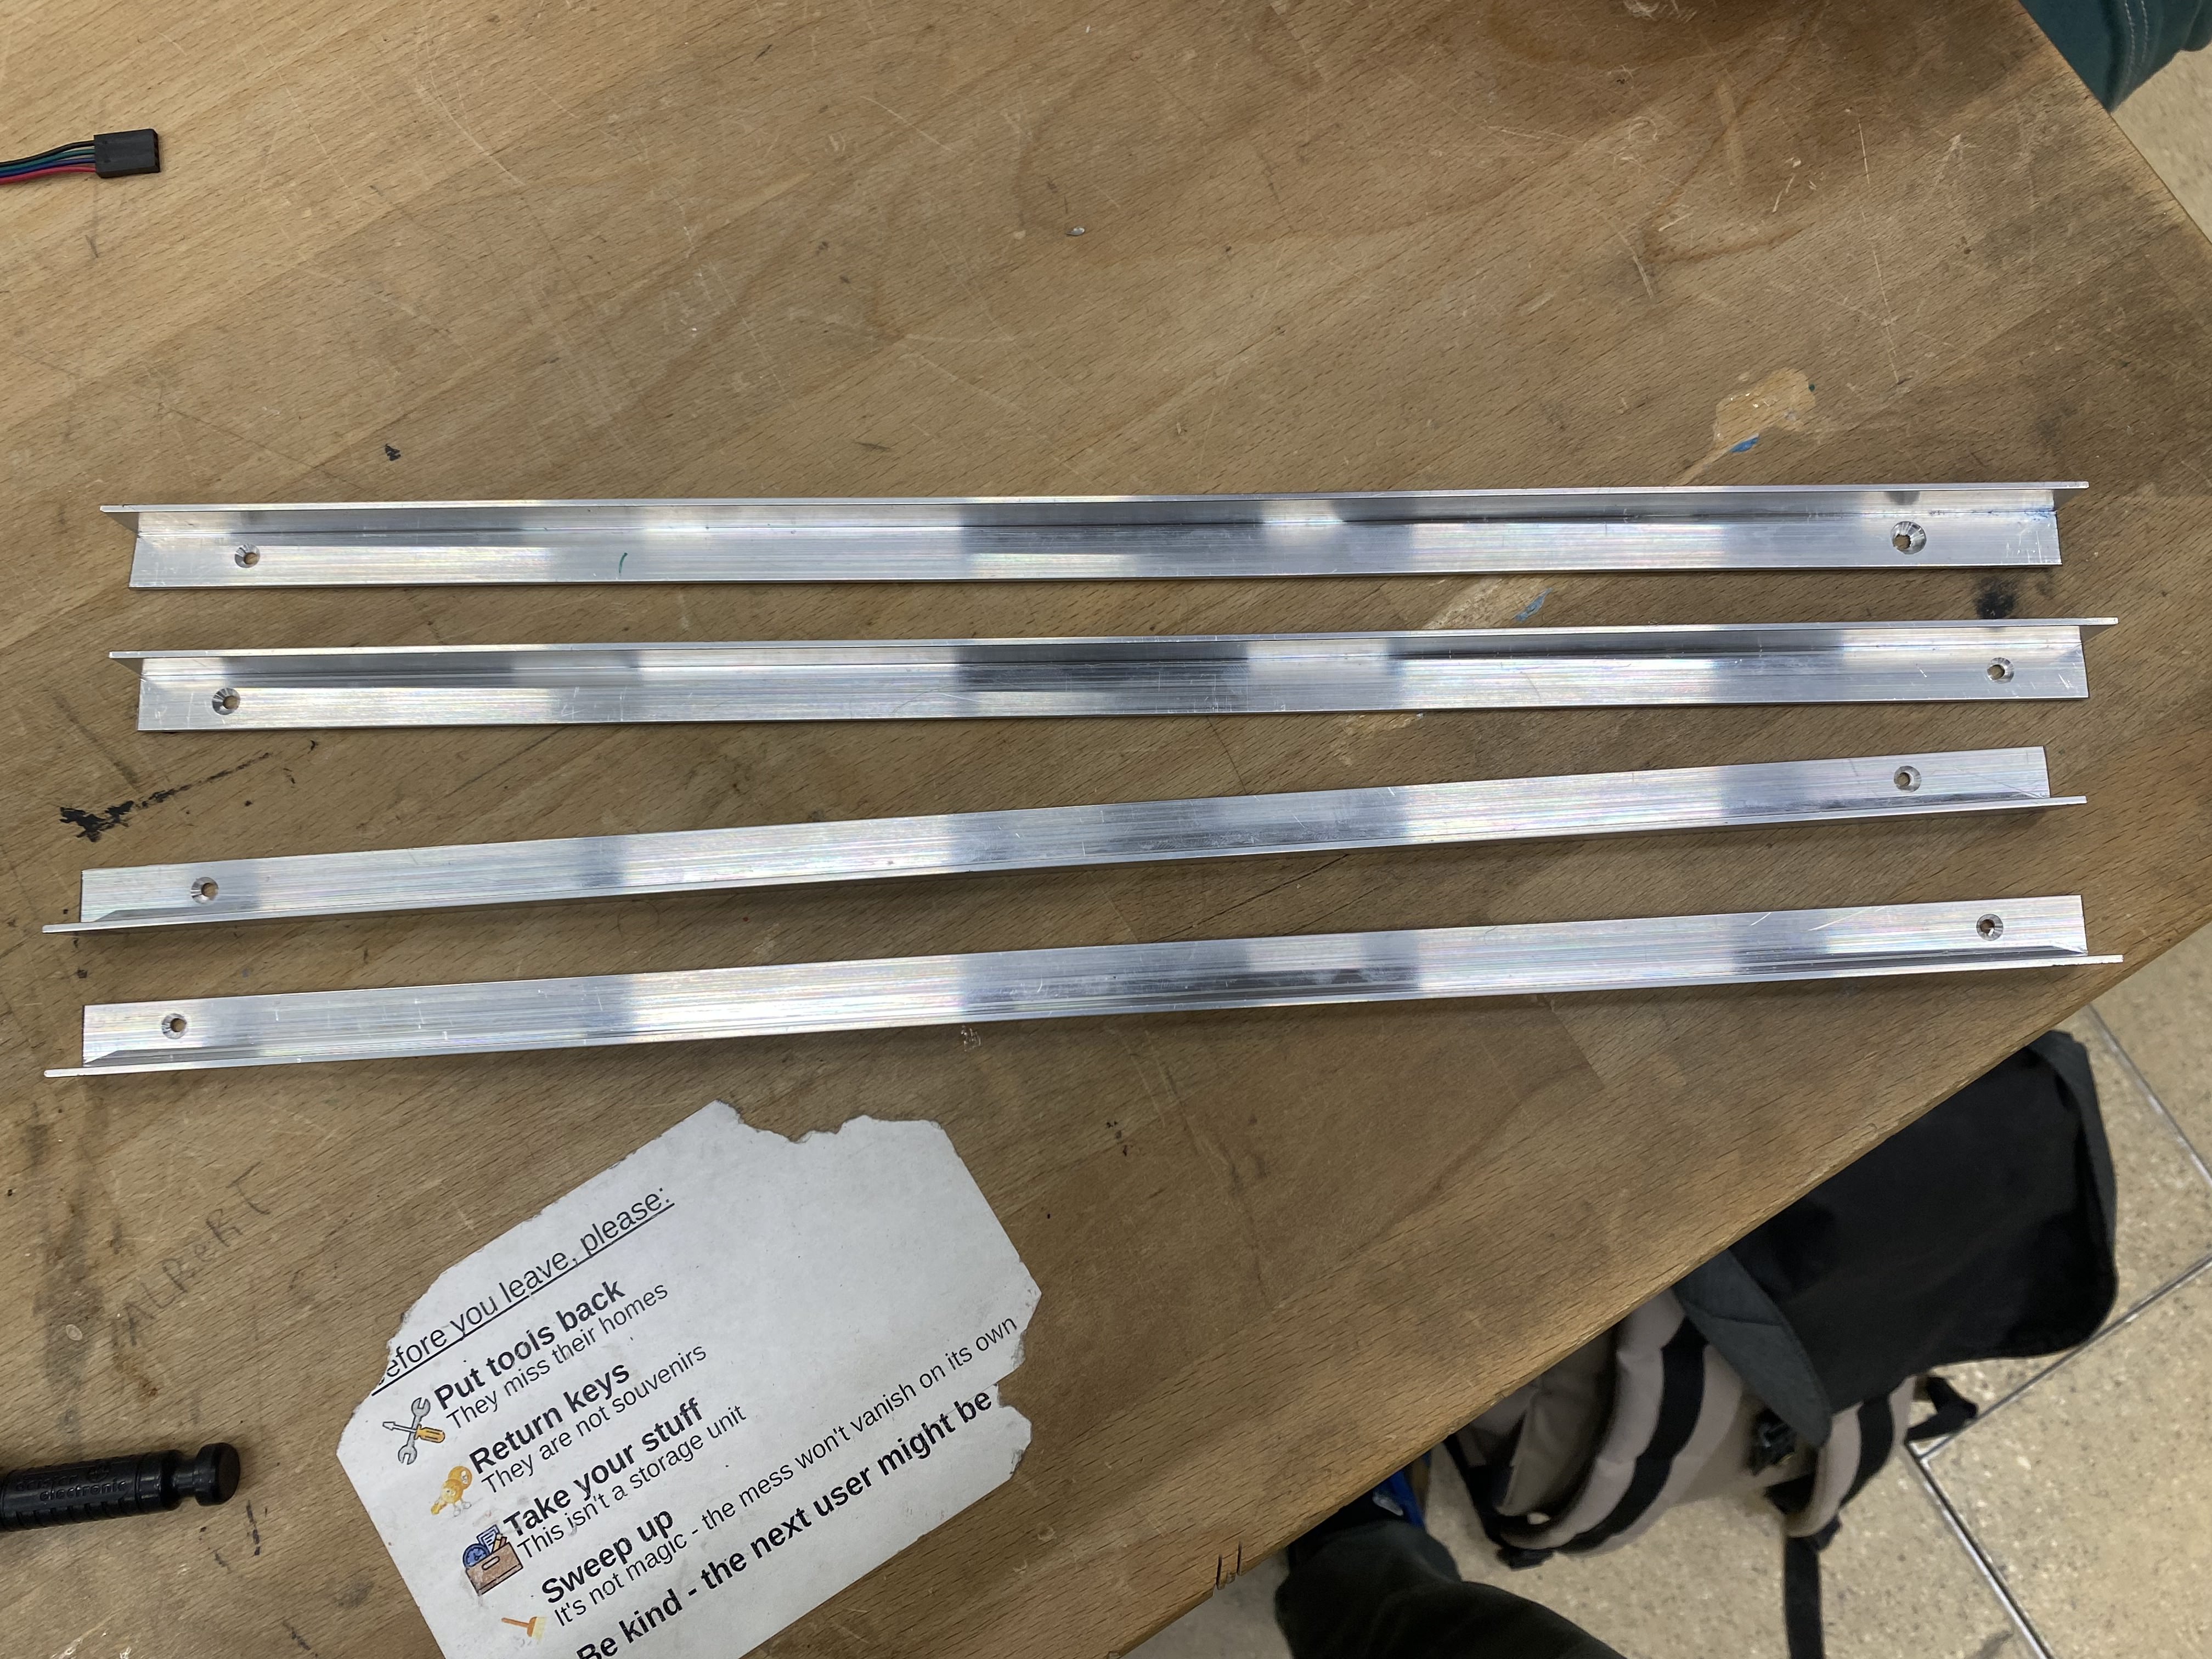
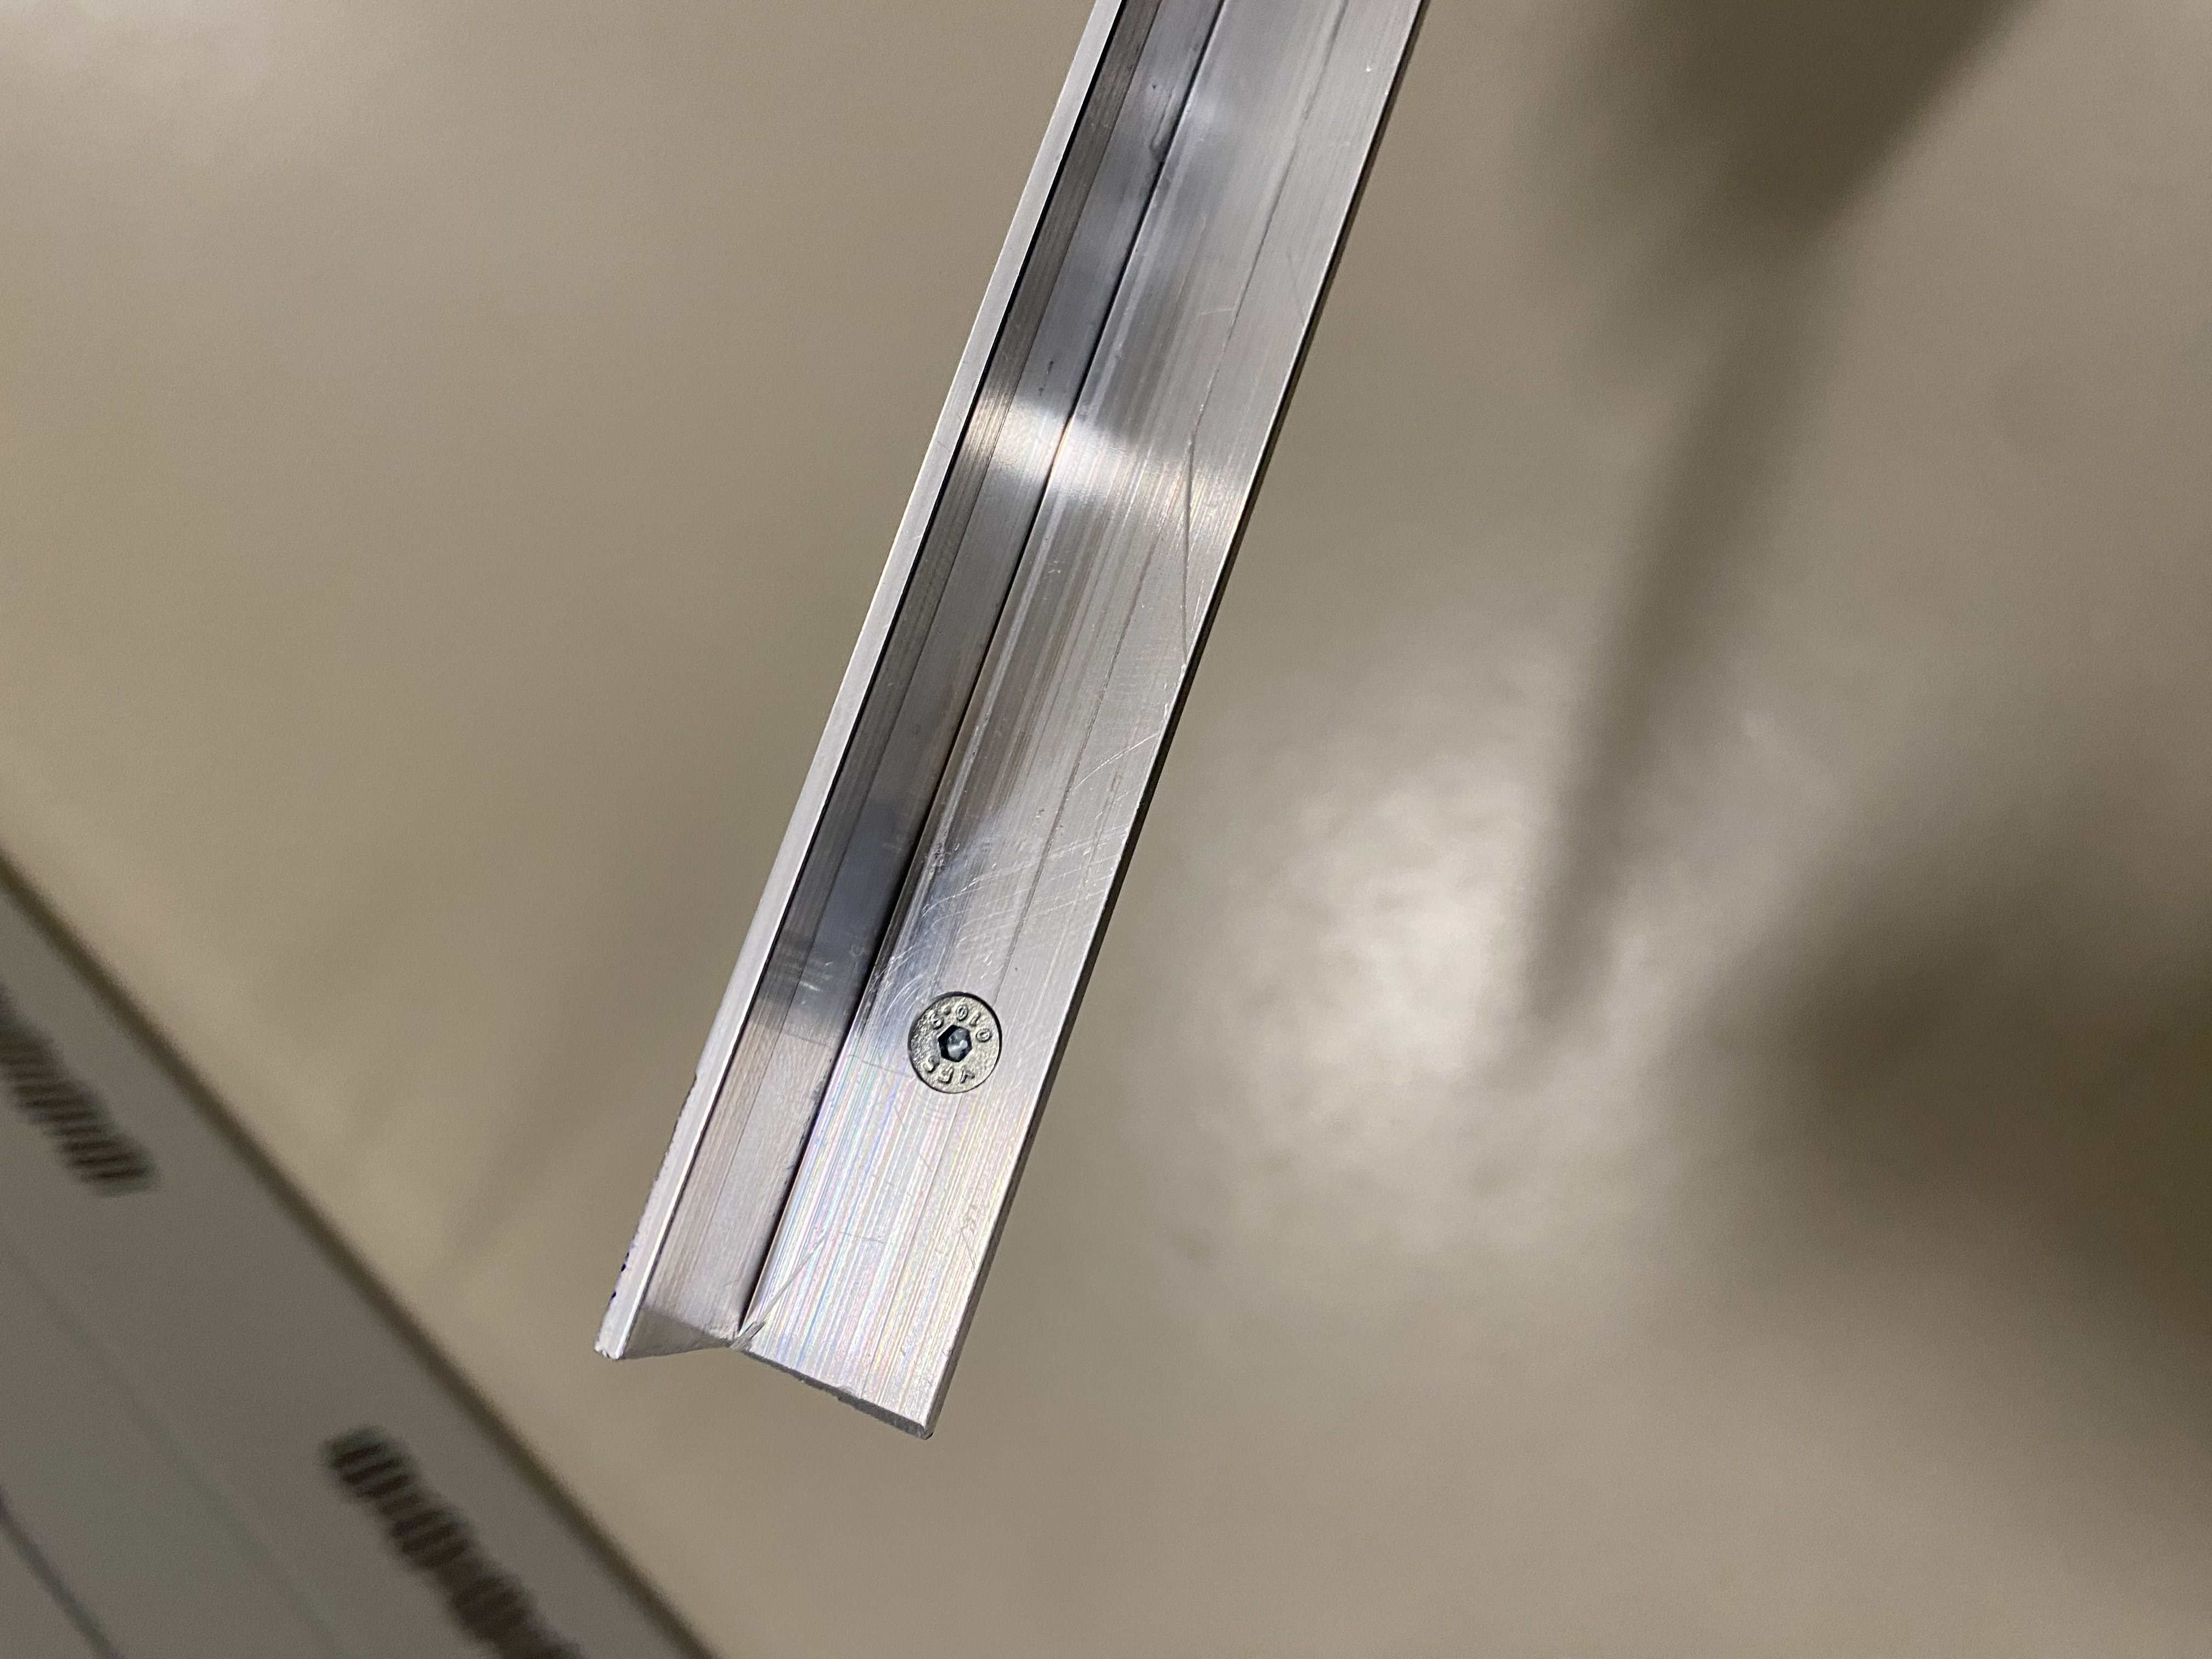
Rails
Holes must be drilled into the bars to put screws and not disturb the wheels when passing over