Meet Our CAD
The bicycle was designed using the student trial of Fusion360. We provide both the CAD of the bicycle itself and the CAD of the stand we designed for the bicycle.
Bicycle
You can download the complete bike CAD as a .step file from this link.
Complete CAD Preview
There are two things we want to point out about this CAD.
If you look at the front wheel axle, at the top, you will see two gears used by the Servo to steer.
The larger gear might seem too large because it overlaps on the smaller one. This is however expected. When 3D-printed, the two gears perfectly match.
The flywheel is linked to the motor with a belt and two pulleys. The top pulley is visible through a hole, but the bottom one is not.
This is an improvement that we recommend you do when you laser-cut your own bicycle. Put a hole at the bottom of the bike where the flywheel motor is, so that you can see inside.
We had several problems with the bottom pulley, and we always had to disassemble a good part of the bike to access it. Adding a hole would make this process much easier.
Stand
We designed a stand to put the bike on when it is not balancing. You can download its CAD as a .step file from this link.
Stand CAD Preview
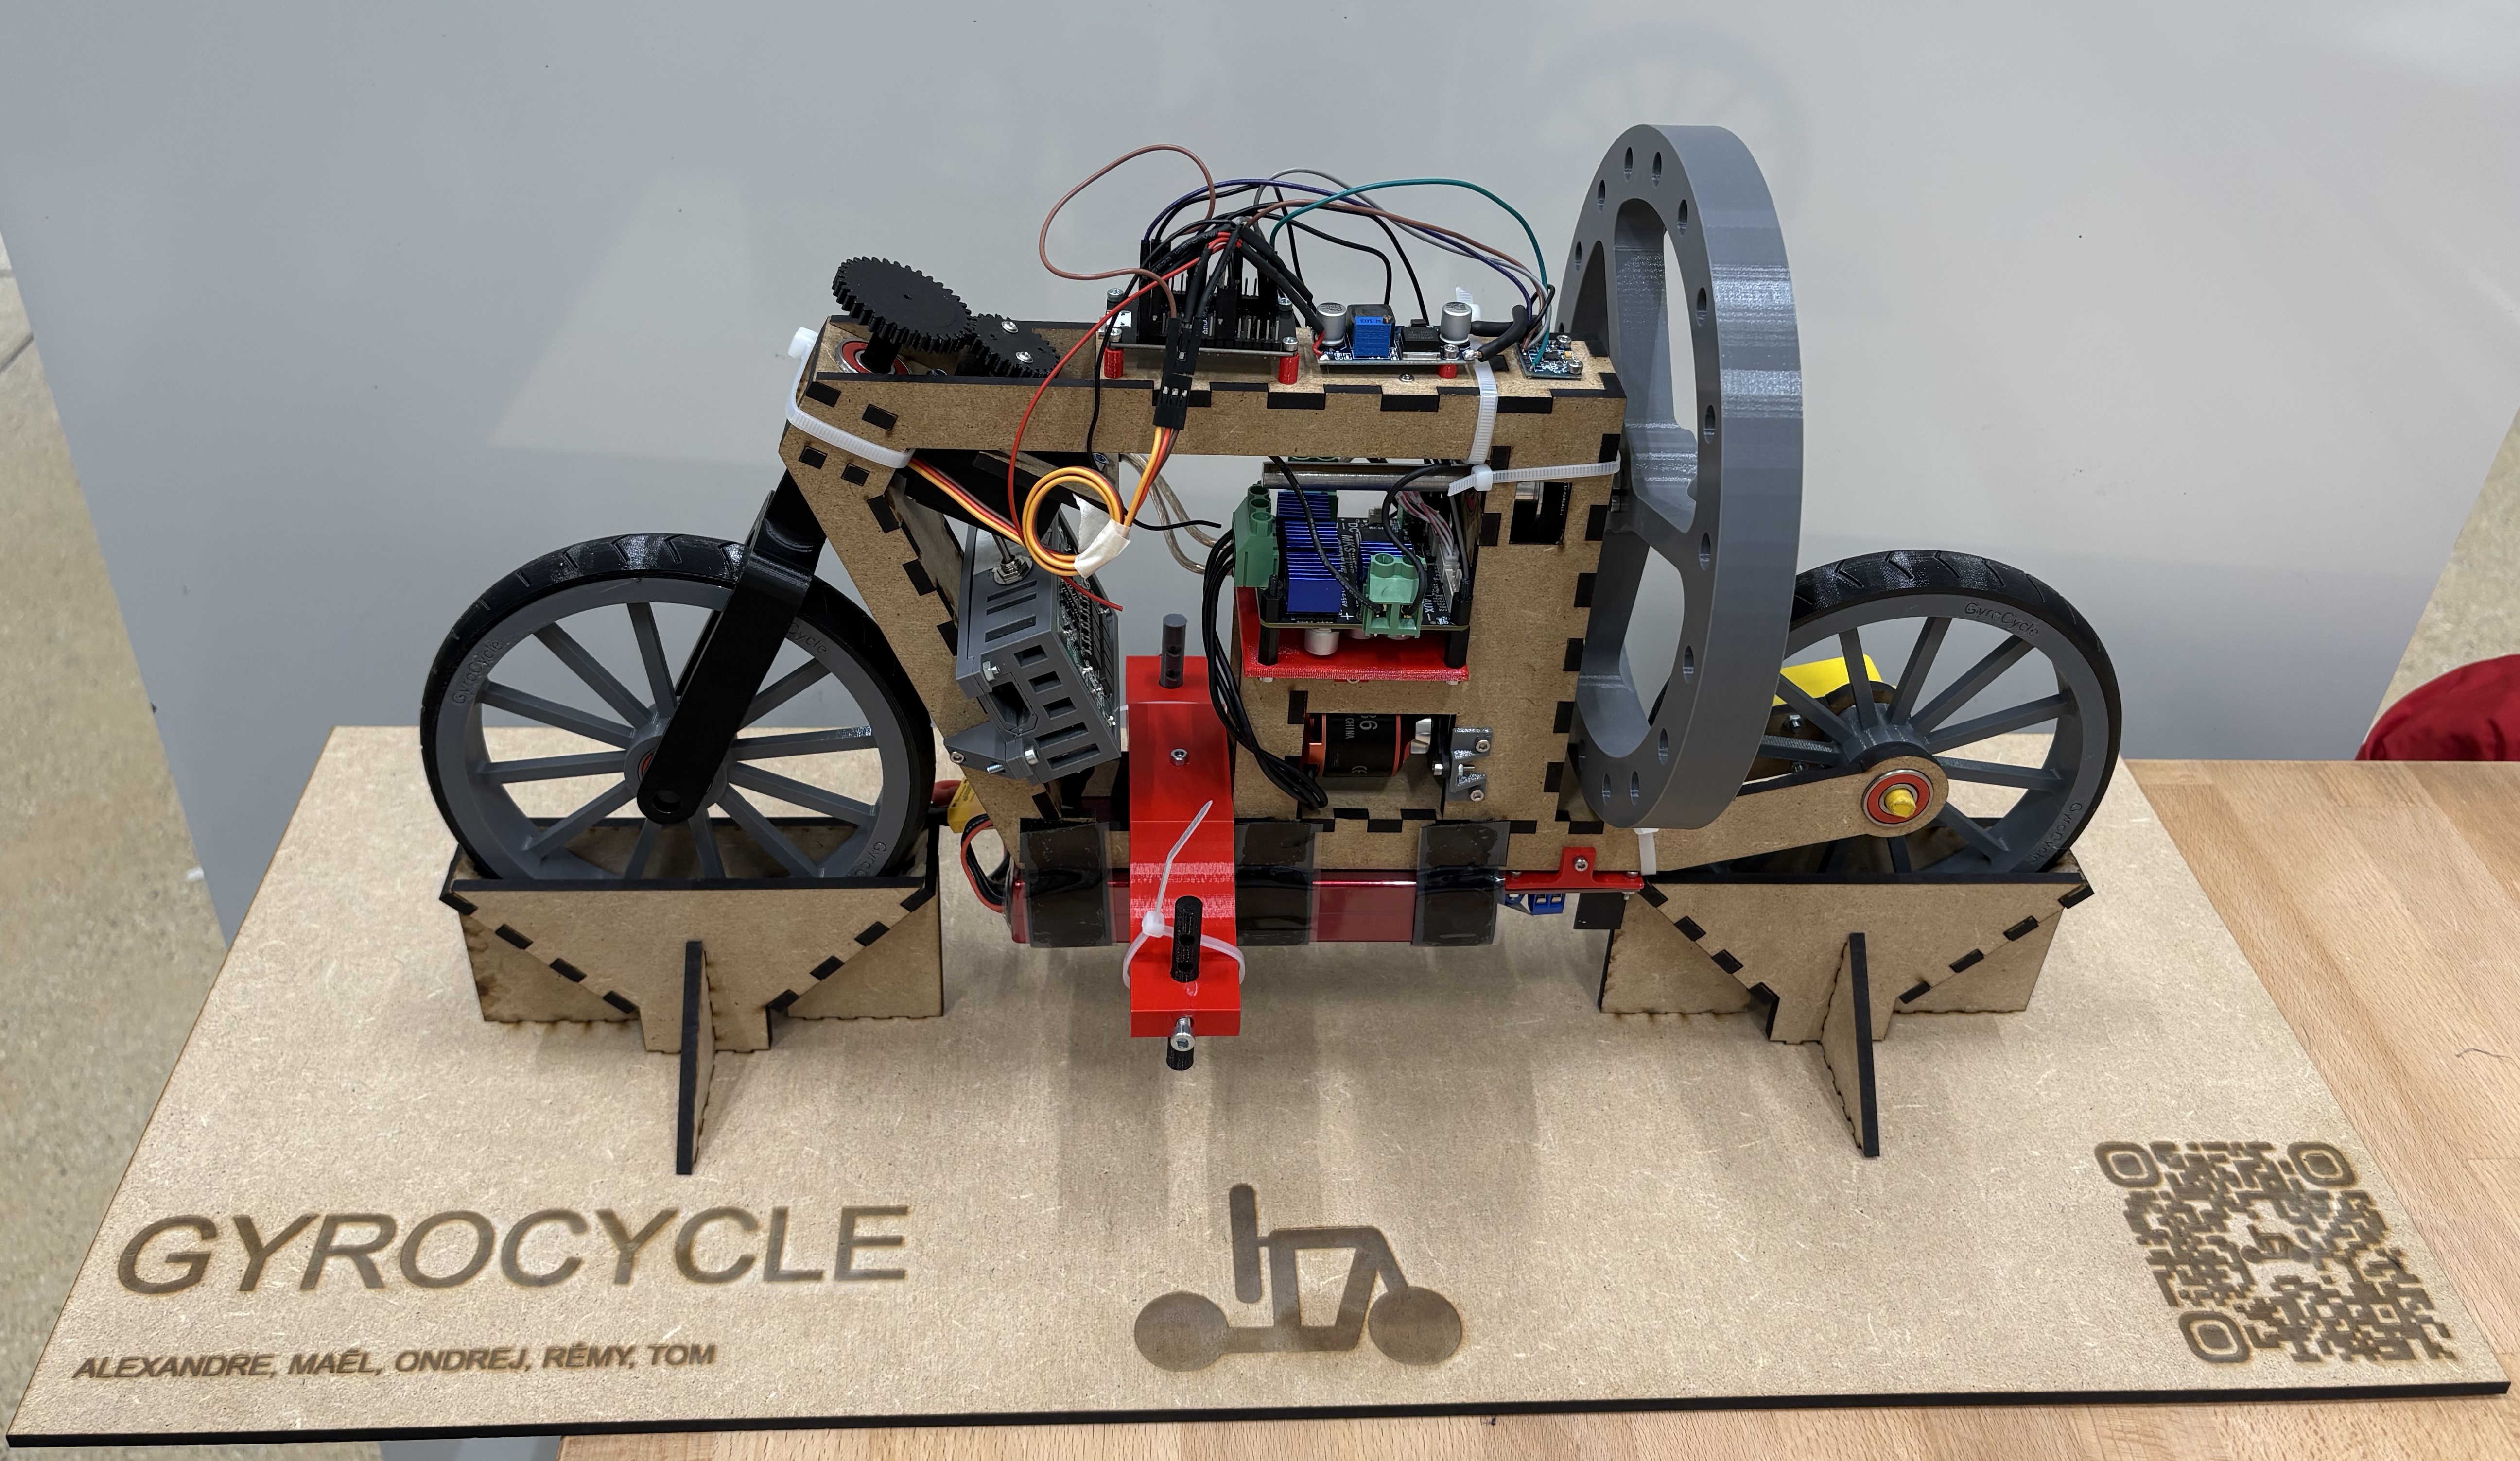
Note that we added some text at the time of laser-cutting the MDF, to write the name of the project on the stand along with the QR code required to connect to RemoteXY (see the part about software).
Electrical Schema
You'll find in the table thereafter links to download the electrical schema of GyroCycle, both in PDF format or for Kicad.
| Description | Download link |
|---|---|
Electrical Schema (.pdf) | Download |
Electrical Schema (.zip Kicad project) | Download |
Now that those have been pointed out, let's get into the manufacturing, starting with some soldering.